
Homemade nut butter has become a kitchen essential for health-conscious eaters and food lovers alike. Learning how to make nut butter at home gives you full control over ingredients, flavors, and texture. Unlike store-bought jars that often contain added sugars, hydrogenated oils, or preservatives, your DIY spread is made only with roasted nuts and optional flavorings. Whether you love creamy almond butter, chunky peanut butter, or experimenting with cashew and mixed nut blends, this guide walks you step-by-step through the process. Based on real kitchen experiences and nutrition studies from sources like the USDA, we’ll cover everything from choosing the right equipment to storage and health benefits. By the end, you’ll know how to create a smooth, flavorful, and affordable spread that’s both nutritious and customizable.
Why Make Nut Butter at Home?
Making nut butter at home is more than just a cooking trend—it’s a healthier, cost-effective choice with endless creative possibilities. First, it gives you nutritional control: no refined sugar, palm oil, or unnecessary additives. You decide whether to keep it natural or enhance with honey, cinnamon, or cocoa. For example, roasting almonds at 350°F for 10–12 minutes enhances flavor and helps oils release, producing a creamier spread. Second, homemade nut butter is often cheaper than premium store brands, especially if you buy nuts in bulk. Third, flavor customization allows you to experiment—think maple almond butter or spicy peanut butter. On the downside, you’ll need a reliable food processor or high-speed blender, and blending may take 8–12 minutes depending on the nut. Still, most home cooks report the effort pays off with fresher taste and peace of mind knowing exactly what’s in their food (Healthline).

How To Make Nut Butter at Home
Nut Butter Ingredients
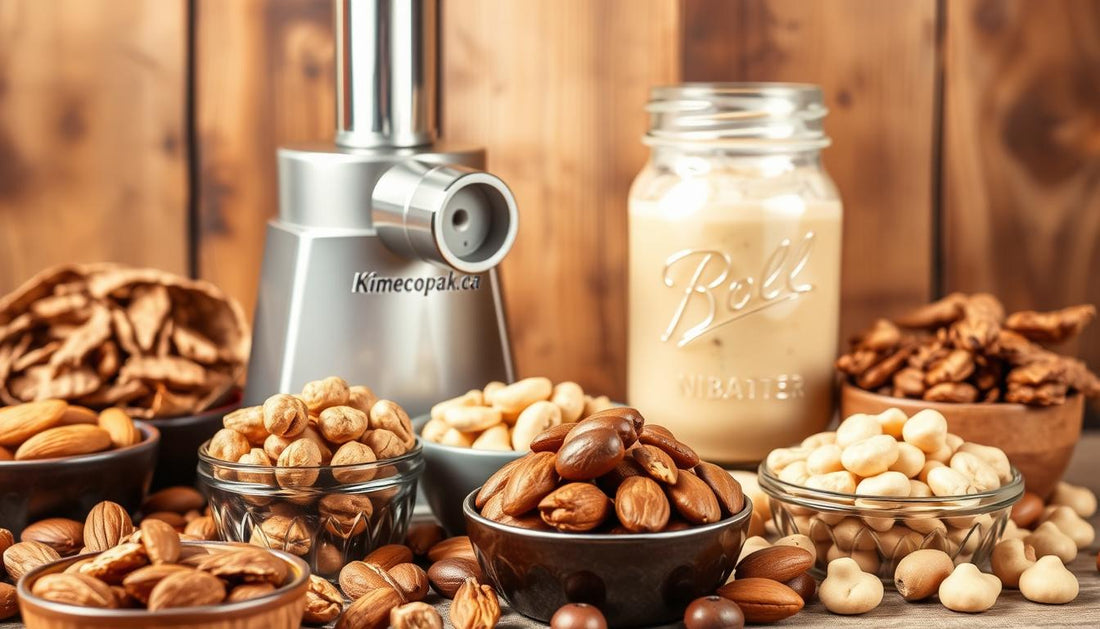
The base of every nut butter recipe is simple: nuts and patience. Popular choices include almonds, peanuts, cashews, and hazelnuts. Each type offers a unique texture and flavor—almonds are slightly sweet and earthy, peanuts bring classic creaminess, while cashews yield a naturally rich butter. Optional add-ins include:
- Salt for balance
- Honey or maple syrup for sweetness
- Coconut oil or neutral oils if your butter feels too dry
- Spices like cinnamon or cocoa for variety
From experience, lightly roasting the nuts improves both aroma and spreadability. According to USDA nutrient data, two tablespoons of almond butter provide about 190 calories, 6g protein, and 17g healthy fats—making it a nutrient-dense food.

Equipment
To make nut butter, you’ll need a food processor or high-speed blender. Food processors tend to handle prolonged grinding better, while a Vitamix or Blendtec creates ultra-smooth textures. Additional tools:
- Oven or skillet for roasting
- Measuring cups and spoons
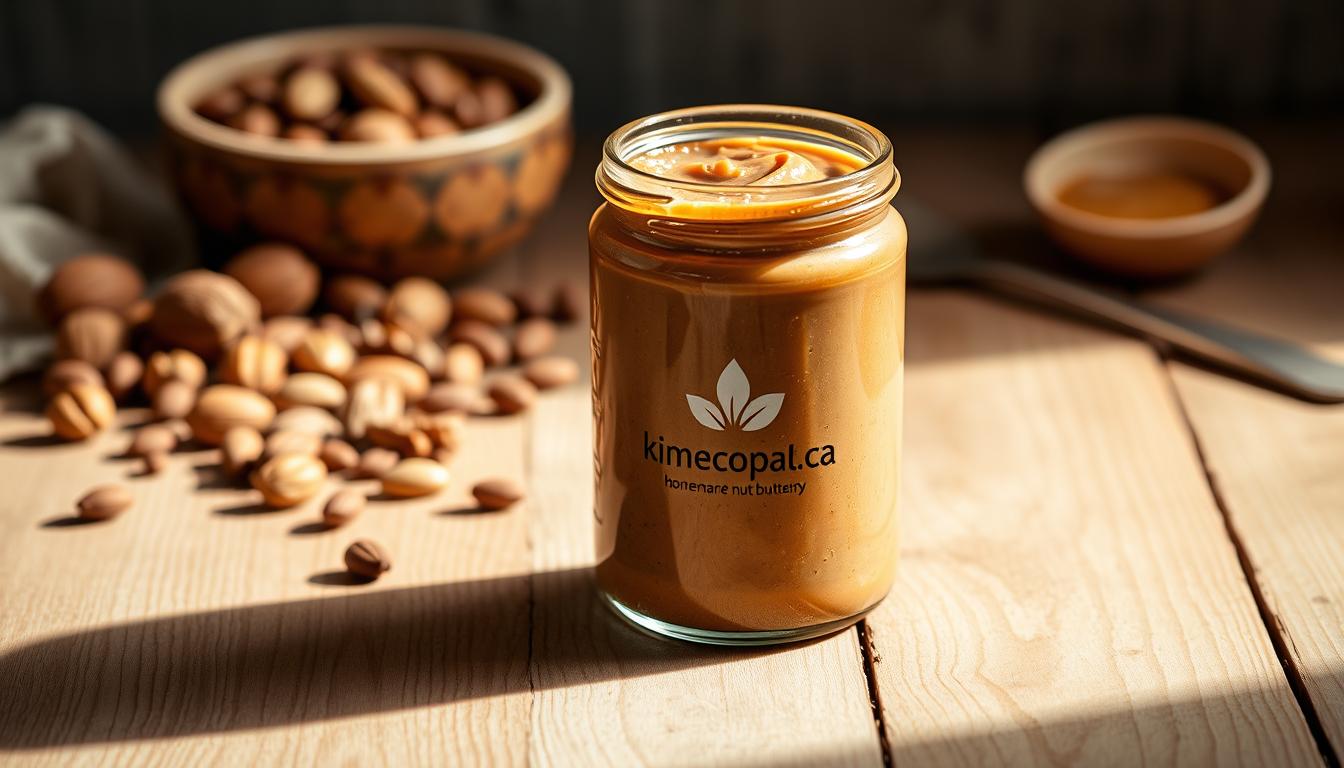
- Airtight glass jars for storage
Step-by-Step Process
Preparing the Nuts
Start by selecting fresh, raw, or pre-roasted nuts. Many home cooks prefer roasting at 325–350°F for 10–15 minutes, stirring halfway to avoid burning. Roasting enhances flavor, loosens skins (especially for peanuts), and helps natural oils release more easily. If you prefer raw nut butter, you can skip roasting, though texture may be denser and taste slightly milder. For smoother results, let roasted nuts cool for 5 minutes before blending. Pro tip: avoid roasting too dark, as it creates bitterness and oxidized oils.
Blending
Place nuts in your food processor and start pulsing. The transformation happens in stages: coarse crumbs → thick paste → creamy spread. Depending on the nut and your machine, this may take 8–12 minutes. Be patient—don’t add oil too early. Scrape down sides every 2–3 minutes. Once creamy, you can add optional oil (1–2 tsp) to adjust texture.

Flavoring & Texture Variations
At this stage, personalize your nut butter. Popular choices:
- Sweet: honey, maple syrup, vanilla
- Savory: sea salt, chili powder
- Indulgent: cocoa, cinnamon
Stir well until fully incorporated.
How to Store Nut Butter the Right Way
Proper storage is key to keeping homemade nut butter fresh, safe, and flavorful. Unlike many store-bought spreads that use preservatives, DIY versions rely on natural oils and can spoil faster if not handled correctly. Based on USDA food safety guidance, here’s how to do it:
General Rules
- Use airtight glass jars (Mason jars work best) to prevent oxidation.
- Cool before sealing: if you roasted nuts, let the butter cool to room temperature before closing the lid.
- Keep utensils clean: never double-dip with knives that touched bread or jam to avoid contamination.
Storage Options
- Room temperature: Store in a dark, cool pantry. Lasts 2–3 weeks. Stir before use if oils separate.
- Refrigerator: Keeps nut butter fresh for up to 3 months. The cooler temp slows down rancidity and mold growth.
- Freezer: For long-term storage, freeze in small portions. Properly sealed, it can last 6 months or more. Thaw in the fridge overnight before using.
Pro Tips
- Add a thin layer of oil on top to reduce air contact.
- Label jars with date of preparation for freshness tracking.
- Always discard nut butter if you see mold or notice a rancid smell.
Tips & Tricks for Best Texture
Getting that dreamy creamy nut butter comes down to small but crucial details:
- Use high-quality nuts: Old nuts can taste bitter.
- Roast lightly: Enhances oils without burning.
- Patience during blending: Resist adding liquids too soon.
- Add flavor at the end: Keeps consistency smooth.
- Keep tools cool: Overheating can affect taste.
From personal experience, cashews require less blending time than almonds, while peanuts release oil faster. If your butter feels gritty, continue blending—it often smooths out with extra minutes. Adding ½ teaspoon of neutral oil per cup of nuts can also help, but only if necessary.
Variations & Recipe Ideas
Homemade nut butter shines because it’s versatile. Some delicious variations include:
- Almond butter: Mild sweetness, ideal for smoothies or oatmeal.
- Peanut butter: Classic, creamy, perfect for sandwiches.
- Cashew butter: Naturally rich, pairs well with fruit.
- Mixed nut butter: Blend almonds, walnuts, pecans, and cashews.
- Flavored spreads: Chocolate hazelnut, cinnamon almond, maple walnut.
Experimentation is encouraged. For example, adding 1 tbsp cocoa + 1 tsp honey to hazelnuts makes a healthier “Nutella-style” spread. A pinch of cayenne in peanut butter can create a spicy dip.
Common Mistakes to Avoid
- Over-roasting nuts: Creates bitterness and oxidized oils.
- Adding liquids too early: Prevents proper creaminess.
- Using damp nuts: Leads to spoilage and poor texture.
- Skipping storage rules: Butter left uncovered oxidizes quickly.
Based on real trials, the biggest beginner error is impatience—stopping blending too soon. Trust the process; nuts transform into butter if you let the oils release.
FAQ (People Also Ask)
Can I make nut butter without a food processor?
Yes. A high-speed blender like Vitamix works, but smaller blenders may struggle.
How long does homemade nut butter last?
At room temp: 2–3 weeks. In fridge: up to 3 months. Always check smell before consuming.
Which nuts are best for nut butter?
Almonds, peanuts, and cashews are most popular. Walnuts or pecans can be blended but may taste bitter if not balanced.
Should I roast or use raw nuts?
Roasting enhances flavor and creaminess. Raw nut butter has a milder taste and denser texture.
Do I need to add oil?
Not always. High-oil nuts like peanuts and cashews rarely need added oil. Almonds may benefit from 1–2 tsp neutral oil.
Conclusion
Learning how to make nut butter at home is simple, rewarding, and healthier than relying on processed jars. With just nuts, patience, and a food processor, you can create spreads that fit your taste and lifestyle.
Read More:


