
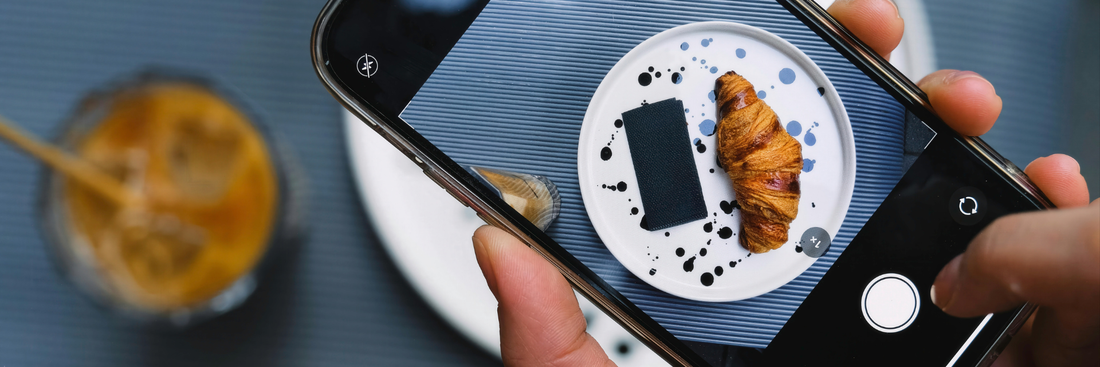
Imagine a café owner setting up a cozy corner by the window, where a slice of cake glows softly under morning sunlight. The colors look fresh, the texture comes alive, and the scene feels real as if you could almost taste it. That’s the magic of natural lighting in food photography.
For food businesses, bakers, cafés, and restaurants, photos are often the first impression your brand makes online. And when your products are served or packaged in eco-friendly materials like Kimecopak’s sustainable packaging, the right lighting can elevate your visuals from “nice” to “irresistible.”
Through our Kimecopak Membership Program, hundreds of cafés and F&B brands across Canada are already transforming how they present their food and packaging. Members enjoy exclusive packaging discounts, professional design support, and marketing tips including how to photograph products beautifully under natural light.
Because when your visuals look authentic, your brand feels trustworthy and that’s what sustainability should always look like.
-
Creating Memorable Visual Content: Photography Tips for Food Businesses
- Food Website Examples: Top Design Inspirations for 2025
Understanding Natural Light in Food Photography

What Is Natural Light?
Natural light refers to illumination from the sun whether it’s direct sunlight, soft daylight filtered through clouds, or light streaming in through a window. Unlike artificial lighting, it constantly changes throughout the day, creating different moods and tones.
- Morning light: soft and cool great for bright, fresh food like breakfast dishes or smoothies.
- Afternoon light: warm and strong ideal for highlighting texture and golden tones (think coffee shots or baked goods).
- Evening light: moody and warm perfect for cozy, emotional storytelling.
Natural vs Artificial Light
| Criteria | Natural Light | Artificial Light |
|---|---|---|
| Cost | Free and accessible | Requires equipment (lamps, softboxes) |
| Control | Less control, changes with weather and time | Fully controllable and consistent |
| Feel | Soft, warm, authentic | Can look flat or synthetic if not handled well |
| Ideal For | Realistic, emotional, lifestyle photography | Studio, product catalog shots |
While artificial light offers consistency, natural light wins in emotional depth and realism especially for eco-friendly and lifestyle brands that value authenticity, like Kimecopak’s partners in the F&B industry.
Benefits of Natural Lighting for Food Photography

True-to-Life Colors
Natural light reveals your food’s real colors the green of herbs, the red of strawberries, the creamy tone of latte foam exactly as they appear to the human eye. This authenticity helps your visuals feel appetizing and trustworthy.
A study by Splento (2023) noted that “natural light highlights the true colors and textures of food, making dishes appear fresher and more inviting.”
Enhanced Texture and Depth
When light comes from the side or back, it emphasizes details like crispy crusts, melting cheese, or glossy sauces creating that irresistible “bite me now” effect. Natural side-light is especially powerful for revealing texture without harsh shadows.
Emotional Warmth and Authentic Appeal
Humans are wired to respond to warmth and light. Natural lighting gives food photos that emotional quality the feeling of a real meal shared in a real space. It creates trust and comfort two feelings that align perfectly with eco-friendly brands promoting sustainability and mindfulness.
Practical Guide: Setting Up Natural Light for Food Photography

Window Placement and Light Direction
- Use window light, not direct sunlight. Direct rays can cause overexposure or harsh shadows.
- Side lighting (light coming from one side) creates depth and contrast perfect for most dishes.
- Back lighting (light behind the dish) enhances translucency great for drinks, soups, or salads.
- Avoid front lighting it flattens textures.
Pro Tip: Late morning and golden hour (around 4–6 PM) often provide the most flattering light tones.
Using Diffusers, Reflectors, and Backgrounds
- Diffuser: A sheer curtain, white fabric, or tracing paper softens harsh light.
- Reflector: A white foam board opposite the light source fills shadows for even exposure.
- Backgrounds: Choose simple, neutral surfaces (wood, linen, matte ceramic) to let food shine.
Bonus tip for Kimecopak partners: Pair your sustainable paper bowls, boxes, or coffee cups with natural backgrounds like wood or kraft paper to emphasize the eco aesthetic.
Common Mistakes and How to Fix Them
| Problem | Cause | Fix |
|---|---|---|
| Overexposed highlights | Direct sunlight too strong | Move setup farther from window, use diffuser |
| Harsh shadows | No reflector or uneven light | Add white reflector opposite the light |
| Cold/blue tone | Incorrect white balance | Adjust to daylight or manually set white balance |
| Flat, dull image | Light directly in front | Shift to side or back lighting for more depth |
Integrating Eco-Friendly Packaging into Food Photography
Showcasing Sustainable Packaging with Natural Light
When photographing your food with eco-friendly packaging, natural light enhances the texture and tone of the materials paper fibers, matte surfaces, earthy colors — without the artificial glare that studio lights often cause.
That’s why many Kimecopak members use soft daylight when capturing product photos for menus, websites, or Instagram. It highlights not just the food but also the values behind it: care, craftsmanship, and environmental consciousness.
Tips for pairing packaging and food:
- Place your packaging beside freshly prepared food under soft daylight.
- Use props like wooden spoons, linen napkins, or small plants to enhance the “natural” feel.
- Capture both close-up shots (to show texture) and wide lifestyle shots (to tell the full story).
How Natural Light Reinforces Green Brand Values
Natural light isn’t just an aesthetic choice it’s a visual statement. It symbolizes honesty, transparency, and nature the same values eco brands stand for.
By combining sustainable packaging with authentic lighting, you create a cohesive brand message:
“What you see is real. What you use is responsible.”
That’s the kind of emotional resonance that builds trust and long-term brand loyalty.
Quick Checklist for Your Next Natural-Light Food Shoot
- Position your setup near a window with indirect sunlight.
- Avoid midday glare opt for morning or golden hour.
- Use a diffuser to soften harsh light.
- Place a white reflector opposite the window.
- Choose simple, neutral backgrounds.
- Highlight both the food and packaging.
- Capture multiple angles (top-down, 45°, side).
- Check white balance before shooting.
- Shoot in RAW for better color correction.
- Tell a story not just show a product.
Conclusion
Natural lighting does more than make your dishes look good it captures the soul of your brand.
For sustainable businesses using Kimecopak packaging, every photo becomes a story: a story of real food, real people, and real care for the planet.
If you want to take your brand visuals further from photography to packaging to customer perception join the Kimecopak Membership Program.
FAQ
Q1: Is natural light always the best choice for food photography?
Not always. While natural light provides authenticity and warmth, artificial lighting can help when shooting in low-light environments or when consistent lighting is required across multiple days.
Q2: What if I don’t have access to a big window?
Use any available natural light even a small window works with a diffuser. You can also use daylight-balanced LED lights to mimic soft natural light when needed.
Q3: What time of day gives the best results?
Late morning and late afternoon (the “golden hours”) produce the softest and most flattering light. Avoid direct noon sunlight.
Q4: How can I photograph food and packaging together?
Arrange your dish beside the Kimecopak packaging under side or back lighting. Keep props minimal, and focus on textures the contrast between fresh food and natural packaging materials tells a powerful story.
Q5: Should I still use artificial lighting if I have natural light?
Only if natural light is insufficient or inconsistent. You can combine both by using a soft fill light to balance shadows while keeping the natural mood intact.
-
LEARN MORE about How "Subscribe for a Happy Life" will benefits your business HERE!
-
LEARN MORE about Kim Vu, sharing on the challenges she faced as a former restaurant owner, and how she overcame them to create KimEcopak HERE!


