Melting butter sounds like a simple task - and it is - but there’s a big difference between butter that’s perfectly melted and butter that’s scorched, separated, or just doesn’t taste right. Whether you’re baking cookies, whipping up a sauce, or drizzling it over popcorn, learning how to melt butter correctly ensures you get the right flavor, texture, and results every time.
Why Melting Butter Correctly Matters
If you’ve ever had cookies spread too thin, sauces turn oily, or cakes that taste off, improperly melted butter might be the reason.
- Consistency: Correct melting keeps the fat and water in butter evenly mixed, so your recipes turn out just right.
- Flavor: Overheating can burn the milk solids, giving an unpleasant taste.
- Texture: Good technique ensures smooth, lump-free butter for even mixing.
Does melting butter reduce its nutritional value?
In short - no, as long as you don’t burn it. The vitamins and fats in butter remain stable at normal melting temperatures.

Common Methods for Melting Butter
There’s more than one way to melt butter, and the “best” method depends on your recipe, time, and equipment.
How to melt butter in microwave
Melting butter in the microwave is the fastest and easiest method, especially if you only need a small amount for cooking, baking, or drizzling. But because butter melts quickly and can splatter, it’s important to follow a few simple steps.

Step-by-Step Instructions:
-
Cut the butter into small pieces
- Smaller chunks melt more evenly and prevent hot spots that could burn.
- For a stick (½ cup), cut into 6–8 cubes.
-
Place the butter in a microwave-safe container
- Use a glass measuring cup or ceramic bowl. Avoid thin plastic containers that might warp.
-
Cover loosely to avoid mess
- Use a microwave-safe lid, parchment paper, or a plate set slightly ajar to let steam escape while stopping splatter.
-
Use short intervals
- Set the microwave to low or medium-low power.
- Heat for 10–15 seconds at a time, checking and stirring after each interval.
-
Stop when mostly melted
- If about 80–90% of the butter is melted, remove it from the microwave and stir - the residual heat will finish the job without overcooking.
Key Tips for Success:
- Avoid overheating - butter burns quickly, especially in high-powered microwaves.
- Stir often to ensure even melting and to keep the milk solids from sticking to the bottom.
- Check texture - fully melted butter should be smooth and liquid with no lumps or separation.
Can I melt frozen butter in the microwave?
Yes, but cut it into smaller pieces first and expect it to take longer (30–60 seconds total, in short bursts).
How long does it take to melt butter in the microwave?
For room-temperature butter: 20–40 seconds for a stick (½ cup).
For refrigerated butter: 30–60 seconds.
Is it safe to melt butter in the microwave?
Yes - as long as you use short intervals, low heat, and a microwave-safe container.
How to melt butter on stove
Melting butter on the stovetop gives you the most control over heat and texture, making it ideal for larger amounts or recipes where precision matters. It’s a simple process, but doing it right will help you avoid burnt milk solids and greasy separation.

Step-by-Step Instructions
-
Choose the right pan
- Use a small, heavy-bottomed saucepan to ensure even heat distribution. Thin pans can cause hot spots and scorch the butter.
-
Cut the butter into smaller pieces
- This helps it melt evenly and reduces the chance of burning before all the pieces are liquid.
-
Set the heat to low
- Gentle heat is key. High heat can cause the water in butter to evaporate too quickly, leading to separation or browning before you want it.
-
Add the butter to the pan
- Place the pieces into the cool pan, then turn on the burner to low. Starting with a cold pan avoids sudden overheating.
-
Stir occasionally
- Use a heat-safe spatula or wooden spoon to stir slowly, keeping the butter moving so it melts evenly.
-
Remove from heat before fully melted
- Once 80–90% of the butter is liquid, take the pan off the heat. Stir to finish melting with the residual warmth - this helps prevent burning.
Key Tips for Success:
- Is it safe to melt butter on the stovetop? Yes - as long as you use low heat and monitor closely.
- Should I stir the butter while melting? Yes - stirring ensures even melting and prevents milk solids from settling and scorching.
- What is the ideal temperature for melting butter? Aim for around 90–95°F (32–35°C) - just warm enough to liquefy, not cook.
Comparison of All Methods
| Method | How It Works | Pros | Cons | Best For | Average Time | Safety Tips |
|---|---|---|---|---|---|---|
| Microwave | Cut butter into small pieces, heat in short bursts (10–15 sec) on low/medium-low, stirring in between. | Fastest method; minimal cleanup; ideal for small amounts. | Easy to overheat; can splatter; uneven melting if not stirred. | Quick baking tasks, drizzling over popcorn, small recipes. | 20–40 sec (room temp), 30–60 sec (cold/frozen). | Always use a microwave-safe container; cover loosely to prevent splatter. |
| Stovetop | Place butter in a small saucepan over low heat, stir occasionally until melted. | Excellent heat control; melts evenly; easy to monitor. | Slightly slower; requires supervision; possible scorching if heat is too high. | Larger batches, recipes needing precise texture, melting before browning. | 1–2 min (small amounts), 3–4 min (full stick). | Use low heat and stir often; remove before fully melted to avoid burning. |
| Double Boiler | Butter melts in a heatproof bowl placed over simmering water, without direct heat. | Gentle, consistent heat; prevents scorching; best for delicate recipes. | Takes longer; more dishes to clean; needs setup. | Melting chocolate with butter, custards, delicate sauces. | 4–6 min depending on amount. | Ensure the water doesn’t touch the bowl; keep heat low to avoid steam burns. |
Common Mistakes and How to Avoid Them
Even something as easy as melting butter can go wrong.
How to prevent butter from burning?
- Always use low heat.
- Remove from heat while a few solid bits remain - the residual heat will finish the job.
How to prevent butter from separating (breaking)?
- Stir regularly.
- Avoid overheating; once it boils, water evaporates, causing separation.
Visual & Practical Signs of Properly Melted Butter
When your butter is ready:
- Color: Pale yellow for melted; golden brown for browned butter.
- Texture: Smooth and uniform with minimal foam.
How to measure melted butter accurately?
Always melt first, then measure for baking recipes - melted butter takes up less space than solid butter.
What amount of butter is ideal for melting?
Melt only what you’ll use to keep it fresh. For recipes, measure according to instructions.

Culinary Applications of Melted Butter
Melted butter is a kitchen all-star:
- Baking: Adds moisture to cakes, cookies, brownies.
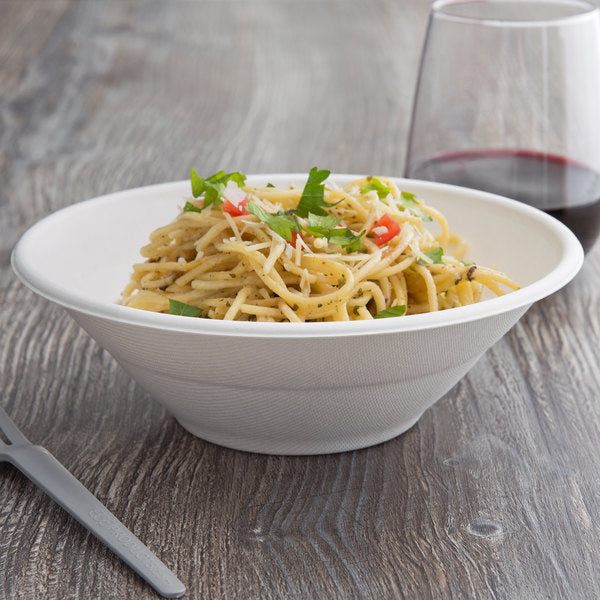
- Cooking: Perfect for sautéing vegetables, making sauces, or drizzling over pasta.
Is melted butter suitable for baking recipes? Yes - just make sure it’s cooled slightly before mixing into batters with eggs.
Should I use salted or unsalted butter for cooking? Unsalted gives you control over flavor; salted can be fine for quick dishes.
Advanced Melting Tips vs Techniques
- Cut butter into smaller pieces for faster, more even melting.
- Remove from heat just before it’s fully melted to avoid burning.
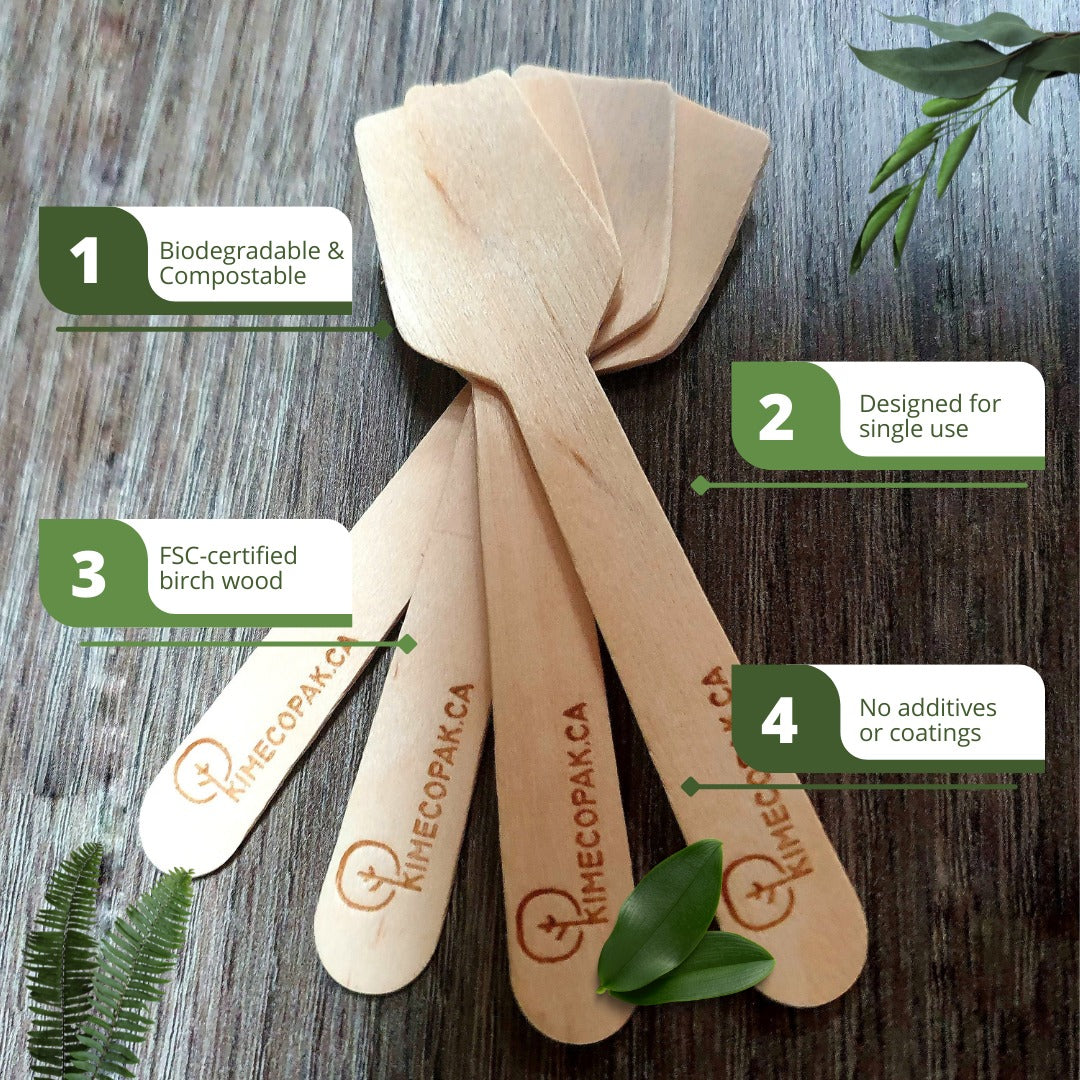
- Store melted butter in eco-friendly, heat-safe containers to keep it fresh.
How long can melted butter be stored?
Up to 2 days at room temperature (covered), or 1–2 weeks refrigerated in an airtight container.
Frequently Asked Questions (FAQs)
- Can I melt frozen butter directly? Yes, but it will take longer; cut it into smaller pieces first.
- Microwave vs stovetop - which is better? Microwave for speed, stovetop for control.
- How to handle leftover melted butter? Store in the fridge, reheat gently before use.
Conclusion
Melting butter is simple, but mastering it makes a big difference in cooking and baking. Whether you choose the microwave or stovetop method, remember: keep the heat low, stir often, and stop before it burns.
If you want to take it further, experiment with clarified butter for high-heat cooking or brown butter for rich, nutty flavors. And when storing melted butter, opt for eco-friendly packaging to keep it fresh and planet-friendly.
Read More:


