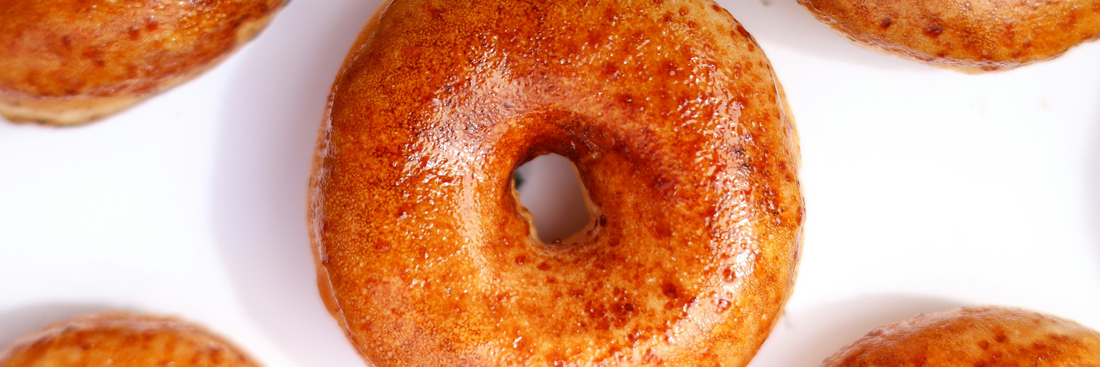
Yeast donuts are a timeless classic, beloved for their irresistibly soft, airy texture and rich flavor. Unlike cake donuts, yeast donuts rise naturally through fermentation, giving them a unique chewiness and depth that bakery lovers crave. Mastering yeast donuts at home allows you to enjoy fresh, customizable treats with that perfect balance of lightness and flavor every time.
- Can You Freeze Donuts? How to Keep Them Fresh and Delicious
- How to Store Donuts Properly: Keep Them Fresh Longer
- How Long Do Donuts Last?
What Are Yeast Donuts?

Yeast donuts are a classic treat known for their soft, light, and airy texture, achieved through natural fermentation using yeast. Unlike cake donuts made with baking powder, yeast donuts undergo a rising process that creates a delicate chewiness and richer flavor. If you’re searching for how to make yeast donuts that taste just like those from your favorite bakery, this yeast doughnut recipe will guide you step-by-step to create perfect homemade yeast doughnuts every time.
What Makes Yeast Donuts So Special?
Making a homemade yeast doughnut is a truly satisfying experience. With this yeast doughnut recipe, you get to control exactly what goes into your donuts and can customize the flavors just how you like them. Plus, there’s nothing quite like biting into a fresh, soft donut that tastes just like it came from a bakery. Whether you’re treating yourself, sharing with loved ones, or even thinking about starting a small business, homemade yeast donuts never fail to impress.
- Texture: Thanks to the yeast fermentation, these donuts have a light, fluffy, and pillowy inside with a slight chew that makes them so enjoyable. This texture is quite different from cake donuts, which are usually denser and crumbly.
- Flavor: The fermentation process also adds a deeper, richer flavor a mild sweetness with a subtle tang that you just can’t get from other types of donuts.
- Appearance: Yeast donuts usually come out with a smooth, golden-brown exterior and a soft, tender crumb inside, making them as beautiful as they are delicious.
Yeast Donuts vs. Cake Donuts: A Quick Comparison

|
Feature |
Yeast Donuts |
Cake Donuts |
|
Leavening Agent |
Yeast (natural fermentation) |
Baking powder or baking soda |
|
Texture |
Light, airy, chewy |
Dense, crumbly |
|
Flavor |
Rich, slightly tangy |
Sweet, more straightforward |
|
Preparation Time |
Longer (due to rising times) |
Shorter (batter-based) |
|
Best For |
Classic, fluffy donuts with glaze or fillings |
Quick, easy donuts often spiced or flavored |
Ingredients for Yeast Donuts

Ingredients for the Dough
- 240 ml warm fresh milk (about 43°C / 110°F)
- 2¼ teaspoons dry yeast (instant or active dry yeast) best yeast for donuts
- 65 g white sugar
- 2 large eggs
- 85 g unsalted butter, melted and cooled
- 1 teaspoon vanilla extract
- ¼ teaspoon nutmeg (optional)
- ½ teaspoon salt
- 500 g all-purpose flour or bread flour (for a chewier texture)
Ingredients for the Glaze (Topping)
- 240 g powdered sugar (confectioners’ sugar), sifted
- 80 ml heavy cream, whole milk, or half-and-half
- ½ teaspoon vanilla extract
How to Make Yeast Donuts at Home – Step-by-Step Guide
If you’ve ever wondered how to make yeast donuts that are soft, fluffy, and bursting with flavor, this comprehensive yeast doughnut recipe will walk you through every step to create perfect homemade yeast doughnuts. Using the best yeast for donuts and following proper techniques ensures bakery-quality results right in your kitchen.
Step 1: Activate the Yeast
Start by mixing warm milk (about 43°C or 110°F) with dry yeast and 1 teaspoon of sugar in a large bowl. This process, often called “proofing,” wakes up the yeast and kickstarts fermentation. Let the mixture sit for 5 to 10 minutes until it becomes frothy and bubbly. This step is essential because active yeast produces the carbon dioxide that makes your donuts rise and become airy.
Tip: If your yeast doesn’t foam, it might be expired or the milk temperature was too hot or cold start over with fresh yeast and ensure the milk is just warm.
Step 2: Knead the Dough
Once your yeast is activated, add the remaining sugar, eggs, melted (and cooled) butter, vanilla extract, nutmeg (optional for added flavor), and salt to the yeast mixture. Stir everything together until well combined.
Gradually add flour about one cup at a time mixing after each addition. When the dough starts to come together and is no longer sticky, transfer it to a floured surface. Knead the dough for 5 to 7 minutes until it becomes smooth, elastic, and slightly tacky but not sticky. Proper kneading develops gluten, which gives your donuts their signature chewy texture and structure.
Pro tip: Using bread flour instead of all-purpose flour can improve chewiness and texture due to its higher protein content.
Step 3: First Rise
Lightly oil a clean bowl and place your dough inside. Cover the bowl with a damp cloth or plastic wrap to keep moisture in. Put the bowl in a warm, draft-free spot and let the dough rise for 1 to 2 hours, or until it has doubled in size. This fermentation step is crucial for developing flavor and that airy, fluffy texture.
Step 4: Shape the Donuts
After the dough has doubled, gently punch it down to release excess air. Roll it out on a lightly floured surface to about 1.5 cm (½ inch) thickness. Use a donut cutter or two round cutters of different sizes to cut out donut shapes. Don’t forget to save the dough scraps; you can re-roll and cut more donuts.
Step 5: Second Rise
Place the cut donuts on a baking sheet lined with parchment paper. Cover them loosely with a cloth and let them rise again for 30 to 45 minutes until they puff up slightly. This second proofing ensures your donuts will be light and airy after frying.
Step 6: Fry the Donuts
Heat cooking oil in a deep pan or fryer to 175°C (350°F). Carefully place a few donuts into the hot oil, frying each side for 1 to 2 minutes or until golden brown. Avoid overcrowding the pan to maintain oil temperature. Use a slotted spoon to remove the donuts and place them on paper towels to drain excess oil.
Tip: Maintain the oil temperature between 350°F and 375°F to avoid greasy or burnt donuts.
Step 7: Glaze the Donuts
Prepare the glaze by whisking powdered sugar, cream (or milk), and vanilla extract until smooth and creamy. While the donuts are still warm, dip the tops into the glaze and place them on a wire rack to let the glaze set. For variety, you can customize your glaze by adding cocoa powder, fruit puree, or sprinkles.
Additional Tips for Perfect Homemade Yeast Donuts
- Best yeast for donuts: Use active dry yeast or instant yeast for reliable rising and fluffy texture. Osmotolerant yeast is ideal if you’re making very sweet doughs, as it tolerates high sugar levels without slowing fermentation.
- Flour choice: Bread flour enhances chewiness and structure, giving your donuts that professional bakery texture.
- Rising environment: Ensure your dough rises in a warm, draft-free area for best results.
- Oil temperature: Use a thermometer to keep frying oil at the right temperature, preventing greasy or undercooked donuts.
- Make-ahead: You can refrigerate or freeze shaped dough for convenience, then fry fresh donuts when ready.
Tips for Making Donuts as Delicious as from a Bakery

- Use bread flour to give your donuts a light, chewy texture that matches professional bakery quality. Bread flour’s higher protein content helps develop gluten for that perfect chewiness.
- Add a pinch of nutmeg to enhance the donuts’ signature aroma and flavor a subtle but distinctive touch that sets your donuts apart.
- For sweet doughs with high sugar content, use osmotolerant yeast, which tolerates sugar better and helps the dough rise effectively without slowing fermentation.
After making your homemade yeast doughnuts, don’t just leave them on a plate. If you want to gift them, share love with family, or sell your first batches, prepare attractive and food-safe packaging.
A kraft paper box not only keeps donuts’ shape intact but also makes your product look professional and polished a small step that helps you “score points” at first sight.
Suggestions:
- For gifts, line boxes with patterned parchment or moisture-resistant kraft paper to create a warm, thoughtful presentation.
- For selling, add handmade stickers, ingredient labels, or cute notes to show care and attention to detail.
Looking for beautifully designed, customizable donut boxes that are convenient and eco-friendly? Explore options at Kimecopak.ca to find the perfect packaging for your batch of donuts!
Conclusion
In essence, yeast donuts are more than just a sweet snack they’re an art of fermentation and patience that rewards you with fluffy, flavorful perfection. Whether for sharing with loved ones or launching your own small business, homemade yeast donuts bring that bakery-quality magic right to your kitchen, promising delight in every bite.